As can be seen in the utilities section, Chioro includes some advanced tools that allow powerful transformation. However, there are use cases where the user may want to extend the toolbox or reuse a complex combination of expressions. In these scenarios, it may be helpful to create custom tools as described in this chapter.
Overview
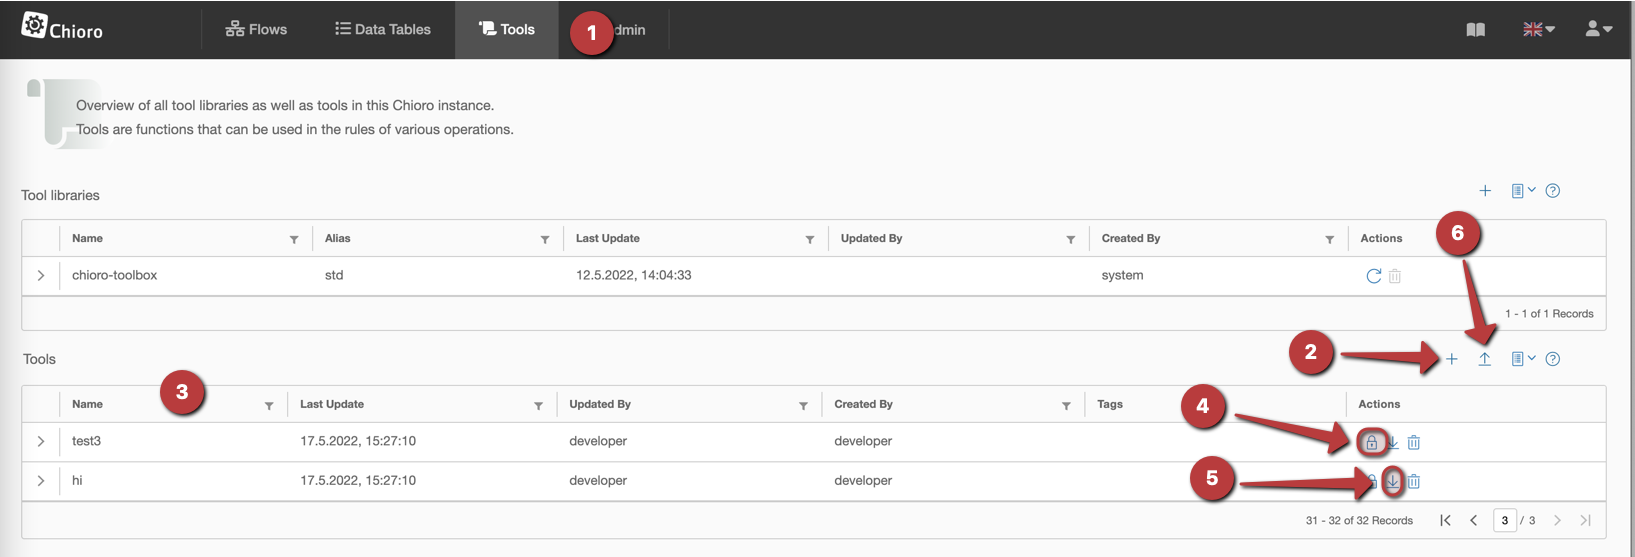
1. Tools menu
2. Creating new Tools
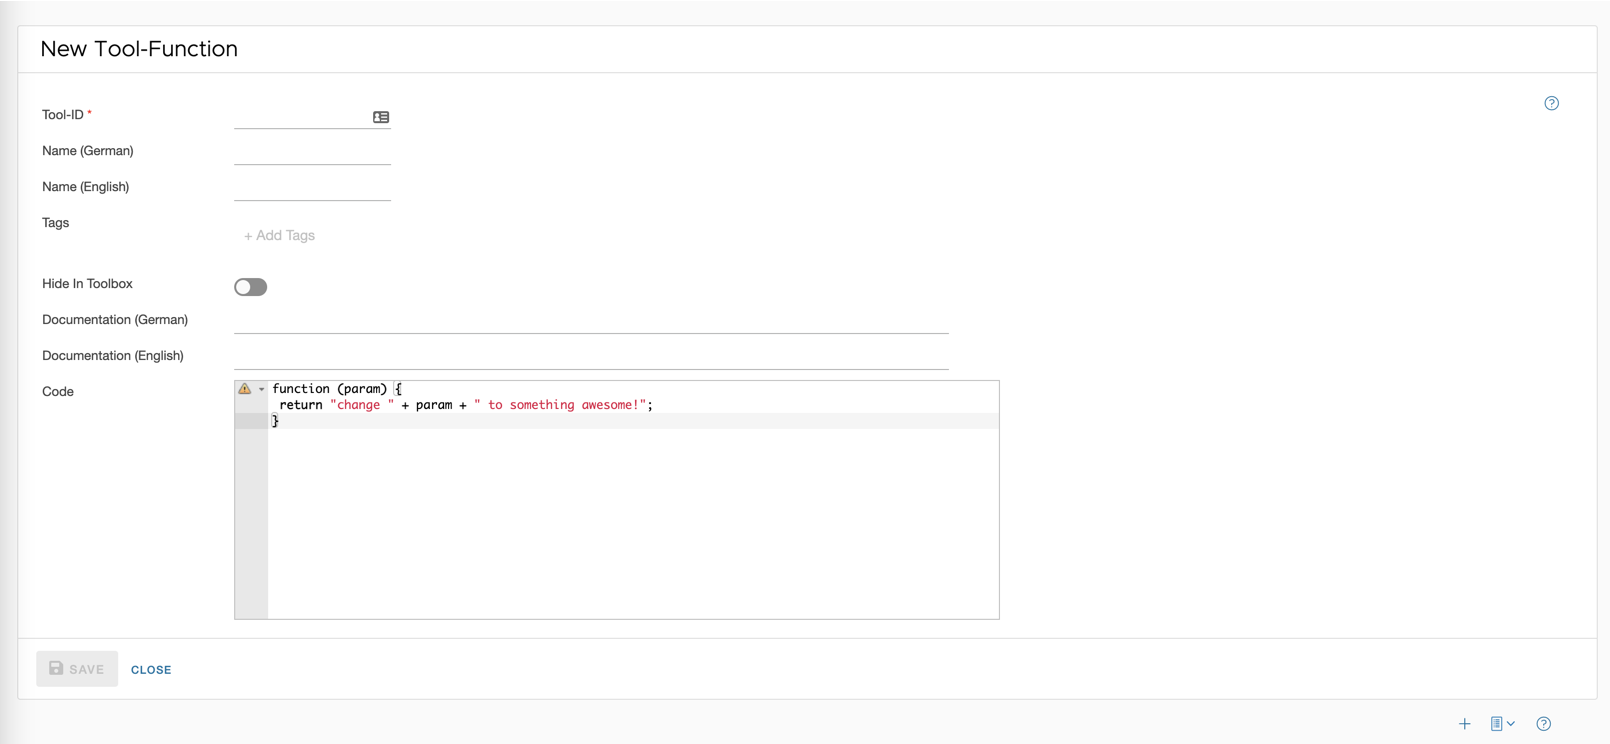
A new tool can be created using the plus symbol. A view appears above the plus symbol which the tool can be defined.
-
‘Tool ID’ - Here an ID is to be assigned for the tool. To note: Umlauts are not possible.
-
Name (German)- A meaningful German name for the tool is to be assigned here. -
Name (English)- A meaningful English name for the tool is to be assigned here.
Please note the following for ID and the two names: Expressions from JavaScript (e.g. new, true, function etc.) and these characters (space + * - _ =) are not allowed. When using such characters or expressions, the tool cannot be saved.
-
Tag- tags are optional and can be added to structure the tool collection. -
Hide in tools- This will hide the tool in the utilities. -
Description (German)- A short description in German for the tool explains to other users what this tool is for. -
Description (English)- A short description in English for the tool explains to other users what this tool is for. -
Code- The code editor works on the basis of JavaScript. Here the function for the tool is defined, which can be executed for each attribute and its value. In the example you can see a function that checks the parameterparam. If the value of the parameter is greater than 10 , then ‘OK’ is returned. If the value is less than 10, then ‘NOT OK’ is returned. -
Save- Click Save to transfer the tool to the Chioro system. -
Close- closes the window without saving.
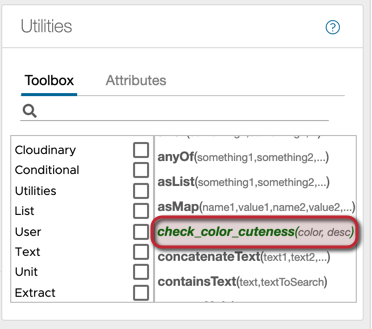
After creating and saving a tool, the inventory list opens with all the tools. In addition, the tool can now be accessed in the utilities. The user created tools are marked ‘green’, so it is easier to distinguish them from the standard tools.
3. Tools Listing

The inventory list of tools shows an overview of the available options. There are the following icons in the Actions column:
-
 Edit Tools
 -
 Delete Tools
4. Assign access rights for scripts
To edit the access rights for tools, the “Lock” icon can be clicked on the right in the column for the respective tool.
Further notes on the configuration of access rights can be found under permissions
5. Export Tools
This button can be used to export tools as JSON.
6. Import Tools
Tools can be imported as JSON via this button. Simply enter a name in the window that opens and push the JSON into the box or click on it via file.